
How to Install a Corporate Bitcoin Node on Windows
Updated February 29, 2020
These instructions are intended to allow a corporation or other organization to set up their own Bitcoin node on Windows. Please see our related post on the benefits of running your own corporate Bitcoin node.
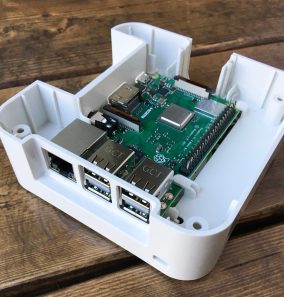
We generally recommend that you stick a low-end (retired) Windows machine in your server room. This will keep the costs to an absolute minimum and still provide more than adequate performance. The only key technical requirements are the need for a reasonably high-speed network connection which your server room presumably already has, and the need for 250+ GB of storage. There is no need for mirroring or raid arrays as the bitcoin data is always duplicated on thousands of other machines and can readily be restored. (At the extreme low end, there are both amateur DIY installations and commercial bitcoin servers that use nothing more than a Raspberry Pi attached to a big SSD drive.) We recommend that you put in a full terabyte so you will not need to upgrade as the storage requirements for the bitcoin transactions increase over time.
Security requirements for your corporate bitcoin node are low – it’s all transparent public data replicated on thousands of machines. The same can not be said for your corporate Bitcoin wallets. While the standard Bitcoin install includes a GUI client with an integral wallet we do NOT recommend you create a wallet on the same machine as your node. Your wallets should be on computers that are physically more secure than is generally the case with corporate server rooms. You should treat crypto wallet security as you would any other corporate financial asset – well secured in a room with strict access controls. We will provide additional more specific recommendations for private key storage and recovery keys in a later section.
Bitcoin Node Server Requirements:
- High-speed Internet connection
- Dedicated Windows 10+ client or server
- Any CPU (good use for an older system)
- 250+ Gig Storage
- Cabled Ethernet connection
- Port 8333 open or TOR
Download the Software
Download the Windows 10 executable software (16 MB) from the Bitcoin.Org web page LINK. The most recent version is 0.19.0.1 which was released on November 24, 2019. The bitcoin core software is free and released under the standard MIT license. Here’s a link to the open github repository.
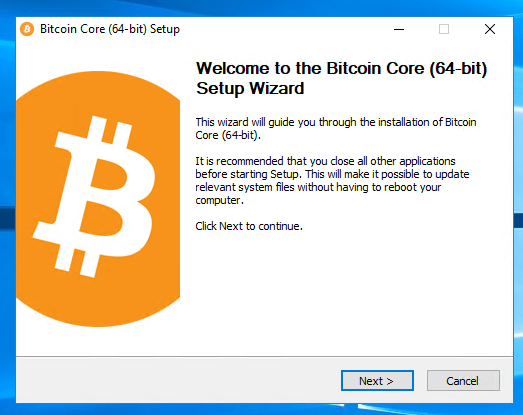
Run the Software
After the software has finished downloading, run the executable. Press the Windows key (⊞ Win) and start typing “bitcoin”. When the Bitcoin Core icon appears, click on it. You should see the following start screen:
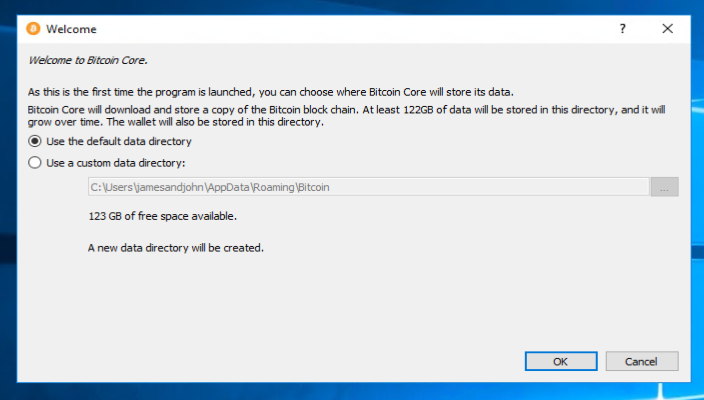
Set Your Storage Directory
The next step is to select the data directory for the bitcoin transaction log. This should be a drive\volume\directory that has the least 250 GB of storage.
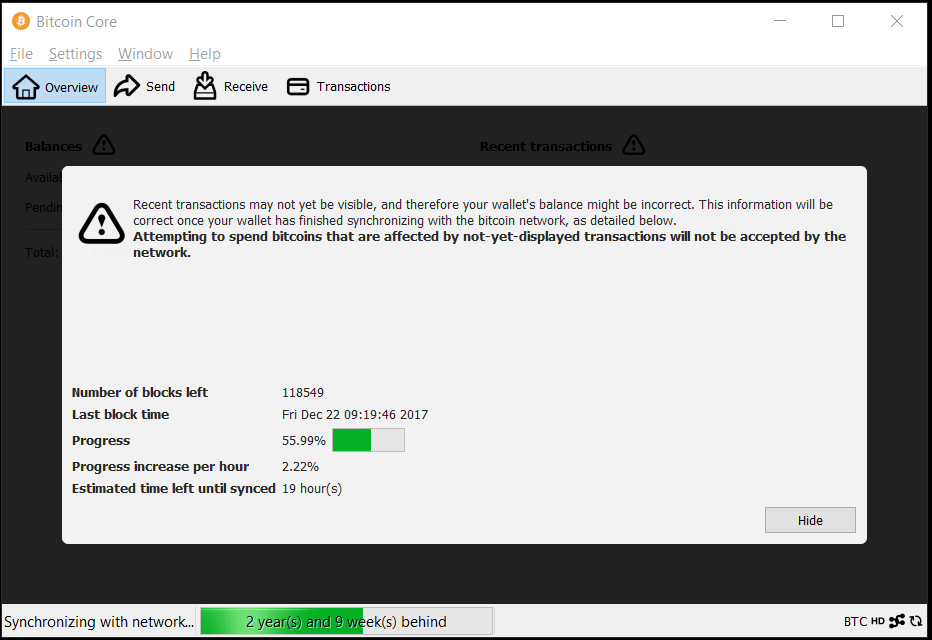
Download The Block History
The Bitcoin Core will install and begin the Initial Block Download. This process will take hours or even days depending on your Internet bandwidth. It will happily run in the background and can be stopped and started as necessary and the download will restart where it left off. Here’s the block download screen from the Bitcoin Core GUI:
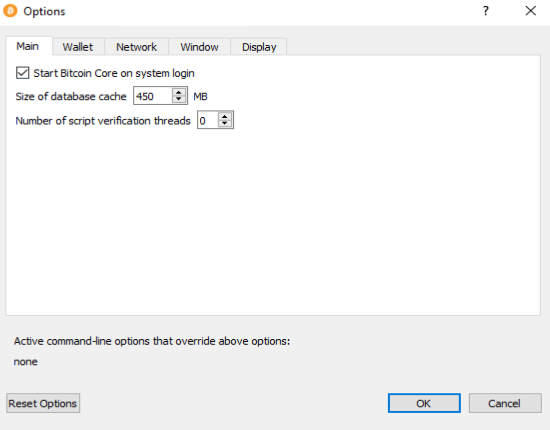
Configure Your Server to Autostart
There are a few configuration options. The important one is to set the software to start automatically on login.
To manually start the Bitcoin Core daemon execute the command bitcoind. For most purposes, the GUI will be sufficient. If you need command-line parameters, check out the developer reference page https://bitcoin.org/en/developer-reference#rpc-quick-reference
Latest updates from around the web:
- A Nexus, World's First — Ethereum Blockchain Network Now Aloft @ ISS
- SpaceX just sent an Ethereum node to the International Space Station
- SpaceX to Deploy First Ethereum Node to ISS in Collaboration with SpaceChain
- SpaceX to Send First Ethereum Node to ISS: Here's How Elon Musk's Space Agency and …
- SpaceChain Announces New Commercial Use Cases for the Blockchain Industry in Outer Space
- Grayscale Becomes First-Ever Bitcoin Company To Partner With NFL Team
- Tesla cars can be bought in Bitcoin
- Bitcoin Wallets For Beginners, Part Five: Buying KYC-Free Bitcoin
- Bitcoin Wallets For Beginners, Part Four: Installing Sparrow Wallet
- Blockchain Node Providers and How They Work
- Bitcoin node manager is updated for more privacy
- With this satellite you can configure your full Bitcoin node even without Internet
- Twitter and Square CEO Jack Dorsey sets up his own bitcoin node.
- Twitter boss Jack Dorsey sets up bitcoin node to support cryptocurrency
- How to Run a Bitcoin Node on a Raspberry Pi (2021)